 I've received a lot of email asking me about what's involved in making these pockets. Actually, they couldn't be quicker or easier to make. Here are a few photos that illustrate the process.
Take a 30 x 30 cm (or 12 x 12 inch) square of sturdy paper. The background papers sold for scrapbooking are fine, and you won't even need to cut them to size.
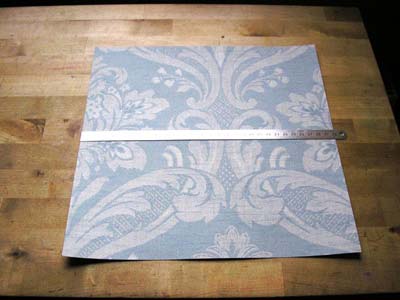
In this example I've used a sheet of wallpaper cut from a sample book and trimmed to size.
- Fold the paper in half top to bottom, open it up flat again.
- Fold the paper in half left to right, open it up again.
- Fold the bottom edge to the horizontal fold line across the centre of the paper. Crease the new fold.
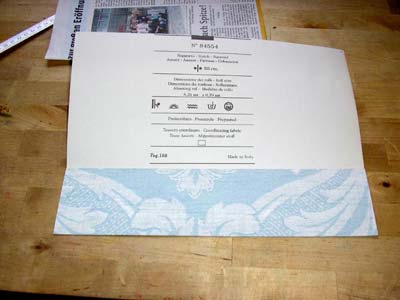
- Open the flap you've just created. Smear on some glue, close the flap again, and press it until the glue is dry.
- Fold the glued flap up at the fold line, and hey presto, you have a pocket.
Fix the pocket in place using double-sided sticky tape and/or brads, eyelets, stitching, staples, etc.
Then all you need to do is fold the pocket left edge to right edge and crease, and you have a booklet or card.
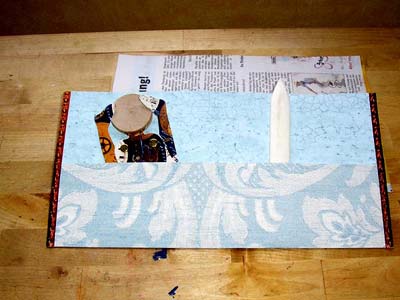
You can then decorate and fill the pocket as you wish. Make as many pockets as you need, whenever you need them. Use one pocket on its own as a card, or punch holes/stick on tabs and string the pockets together to make a book you can add to as you go.


1 comment:
Susan
As always I am so thrilled to receive your "how-to's"
Have an artful (and art filled) day!
Lee
Post a Comment