 What do you do when faced with a challenge? My approach is to do triage, then tackle the most urgent part first. When working with challenge materials, that usually means sorting through to see what will be easy to use on its own (easy, so do it last), what might have promise when combined with other materials (let ideas simmer for a day or two), and then taking a look at the remaining stuff, which is almost always tricky in some respect (do it first).
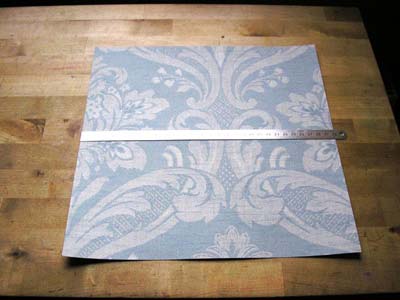
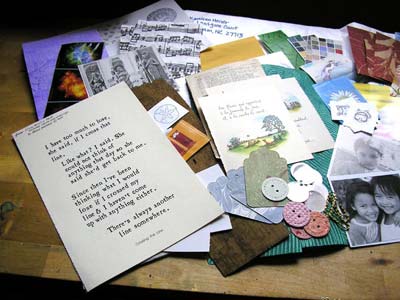
 Yesterday I did triage on a set of materials and was left with several 12x12 inch background papers in the "tricky "pile. The papers were difficult for a couple of reasons. They were photographs of real items from the environment: leaves, branches, bricks, water, and so forth. One issue that presents itself with material like this is that real-life images are often overwhelming because of their size, colours, and clarity, which makes it difficult to do much by way of subtle work with them. They dominate almost anything you might want to do and tend to dictate what follows. For example, it's hard not to use beach holiday photos against a background of sun ripples on clear blue water, and autumn leaves bring along a heavy set of associations, too. Which brings in the second main issue: the photographic style is more what a scrapbooker would use, rather than an artist. So, it was clear to me that I wanted to work on the papers first, so they wouldn't sit around looking at me for days or weeks.
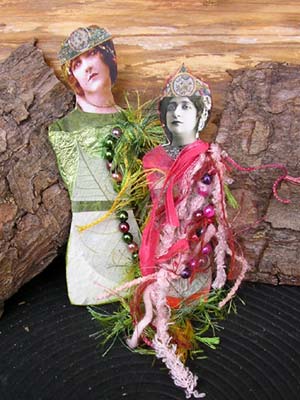
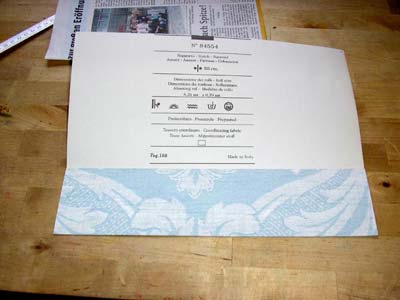
 One of my first ideas was to cut them into cover papers or clothing for paper dolls, but that would have meant making a lot of dolls, and some of the patterns were also too large to look good on small objects. A smaller problem was that the papers had been folded, which meant they were creased, so I couldn't use them for all the ideas I brainstormed. Another idea I came up with and rejected was to cover parts of the paper(s) with gesso and then paint the gesso or use art potch to cover gesso and/or paper with paper napkins. That would have added colour, texture, and more pattern to the papers, to counteract the dominance. However, that would still have left the question of what to do with the papers after that.
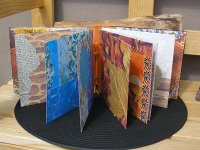
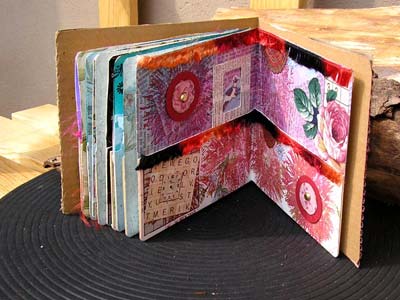
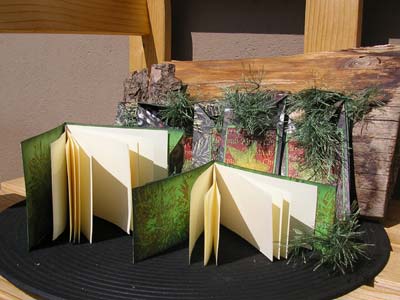
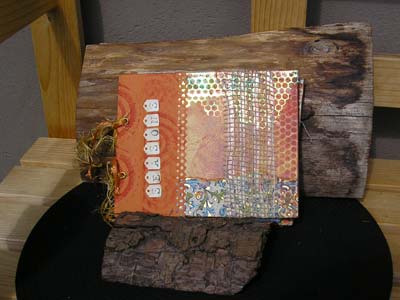
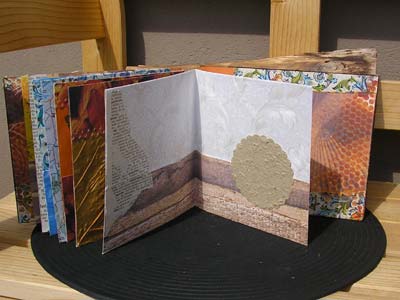
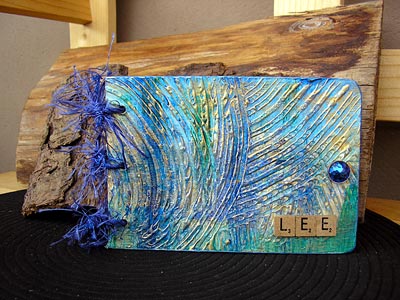
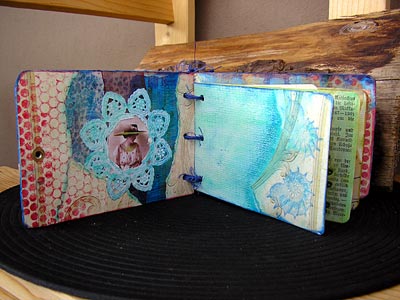
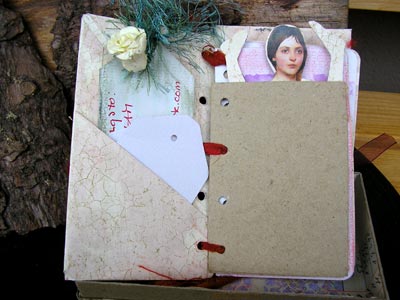
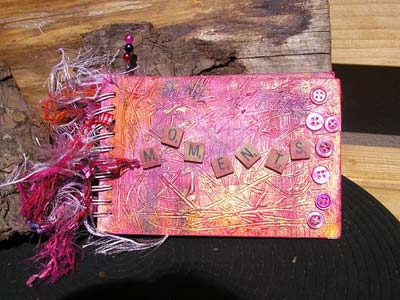
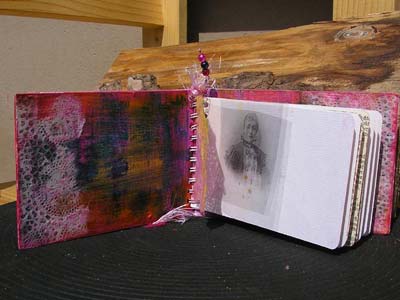
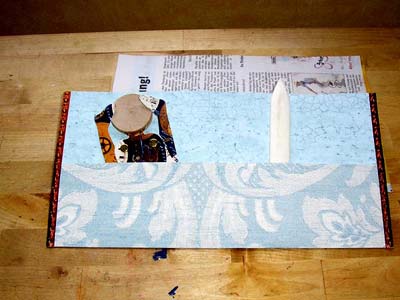
A couple of ideas later I decided to use several of the papers as pocket pages in a journal. (I'd actually hoped to make something other than a journal yesterday, and I did, but more on that later.) I cut a strip from each square, which left me with pockets (the paper was already folded). Then I collaged other papers and ephemera onto the backgrounds, which made them a little more subdued and added an arty touch. The journal is an "art start", and it will be easy for the recipient to add her own touches with more papers, gesso, paint, photos, hand-made booklets or tags, and whatever else she has to hand. The covers are collaged, too, and here I added some inking and a band of woven jute.
 The book still has a lot of handling ahead, when it reaches its recipient, so I decided to make the binding easy to take apart and reassemble. To do that I added a tab to the outside fold of each pocket and to the covers, reinforced them with eyelets, and threaded through some colour-coordinated fibres.
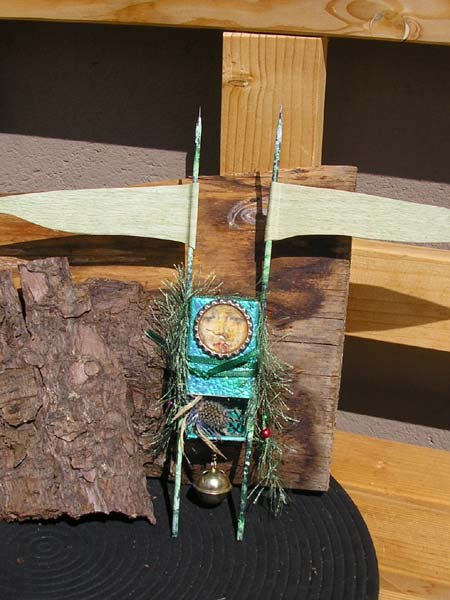
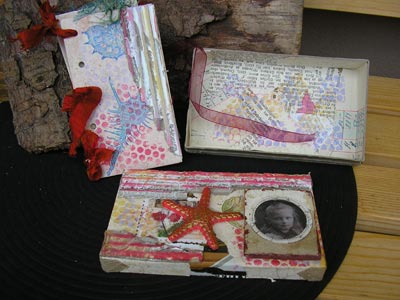
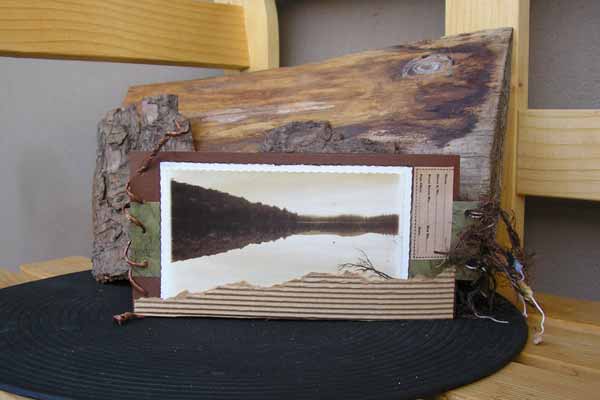
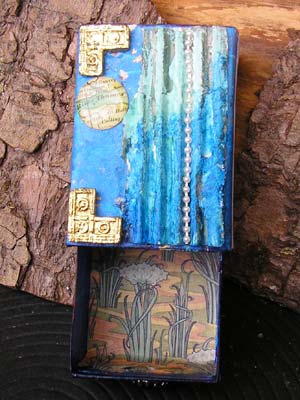
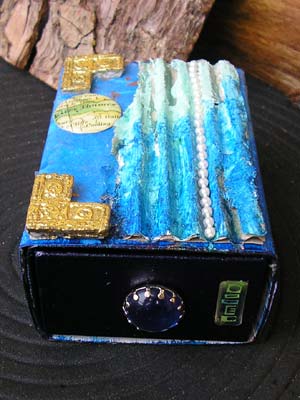 Art doesn't have to be big. This is an example of something you can do with a matchbox. It's the same size as a regular matchbox, but just a little deeper.
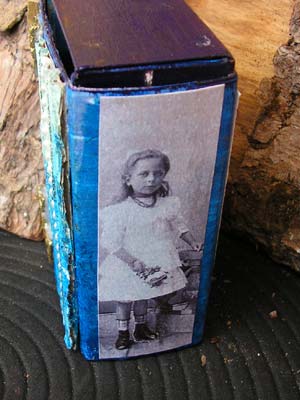


